Kitchen Explanation
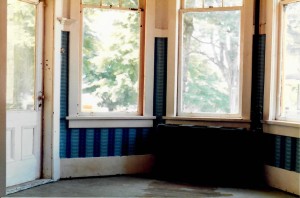
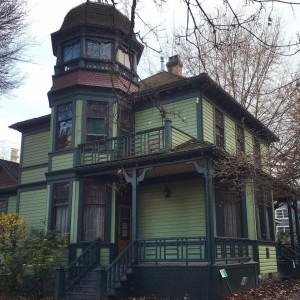
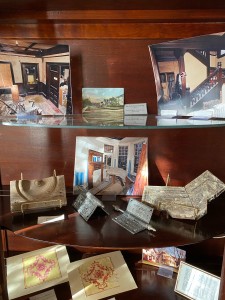
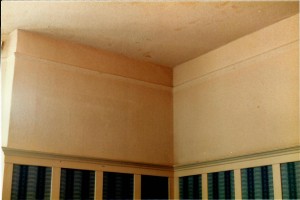
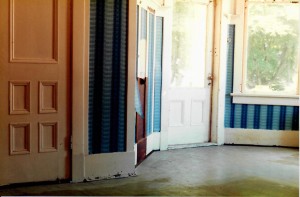
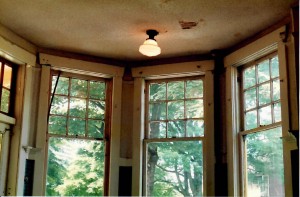
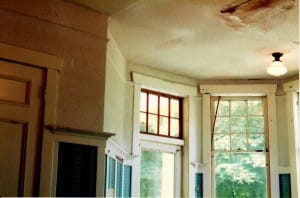
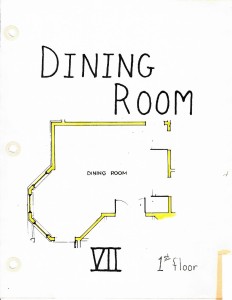
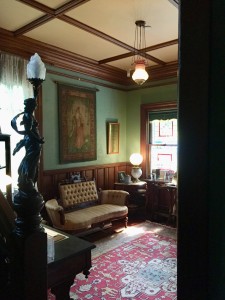
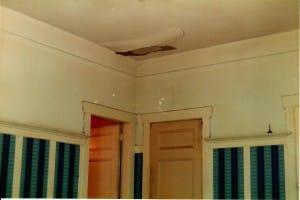
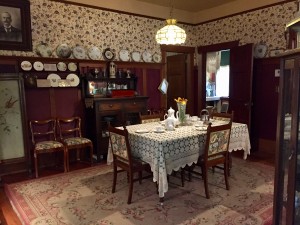
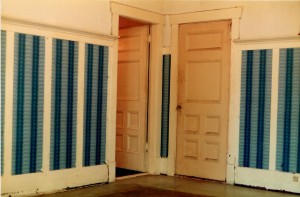
The kitchen area that visitors see today looked very different in the 1980s, when workers first arrived to begin the restoration process of the house; prior to the restoration project, the house had served as a rooming house for years. In regard to its dimensions, the kitchen’s height from floor to ceiling was 119 ½”. In the western section of the space, stencil was found around the top of the walls. Indeed, upon reaching the fourth layer of wallpaper, workers unravelled a dark green leaf pattern against a light green background (see photographs N32, O22, P0 and P1). What is also notably significant is that the workers found the original wallpaper of the overall kitchen to be of a yellow and maroon tile design. During the restoration process, Burnaby craftsman were hired to reproduce a similar version of this pattern. Thus, the wallpaper in the kitchen today is identical to the original sample, but is of a brighter shade. In the northern section of the space and on the left side of a door, two holes were found in the wall. Whilst both were measured to be 2” wide and 4” from the ceiling, one hole was 37” and the other was 41” from the West wall. Then, on the right side of the door, workers noticed traces on the wall which indicated that a cabinet had once been mounted over the sink when the home was still a rooming house. For more details on the northern section of the kitchen, see Kitchen-North XI
Navigate using arrows right & left. Click on an image to open a large slide viewer:
Kitchen-North XI Explanation
Upon entering the north side of the kitchen, restoration workers made particular observations about the doors and window mouldings, as well as the walls. With regard to the mouldings, it can first be noted that both the baseboard and window mouldings were applied over wallpaper that could also be found in the sunroom, under the corner block mouldings of the west doorway. Consisting of planed cedar cut to 4 5/8” width, as well as a strip of pine nailed on the edge, the window moulding bore a total width of 5 ½”. Not only that, but with its round inside edge found cut off, it resembled the moulding around the east kitchen door that lead to the wash closet. As a side note, workers also remarked that underneath the window, one could find pulleys, as well as a small area that had been boarded in with 5 1/8” material and round nails. In a broader sense, workers noticed that the archway moulding that lead into the sunroom, the picture rail, and the window moulding had all been installed with round finishing nails. On the other hand, the top and south side mouldings of the door leading to the wash closet had been installed with square nails instead.
As for the walls, both the north wall and south wall are, for the most part, were composed of 1” X 10” shiplap that had been applied with square nails. On the north wall in particular, the top five rows of shiplap measured to be 1” X 8” and appeared to be from the original construction of the house. Another significant aspect about the north wall is how the shiplap might have been applied prior to the restoration project. For one, workers deduced that the shiplap had been cut on both sides of the window after installation. In addition to lining up smoothly, the edges of the boards had been hand-sawn and followed the same general waves. The shiplap specifically at the window had been mounted with round nails. Finally, the wallpaper here ended in particular places which indicated that it had been cut with shiplap in the past. For more details, please see the layout plans and photographs appended to this section.
